Oak
€9.95*
Total price incl. accessories €9.95*
Available immediately, delivery time: 13-15 days
Product information "Oak"
Einfaches und schnelles Verlegen durch vorgefertigte Verlegematten!
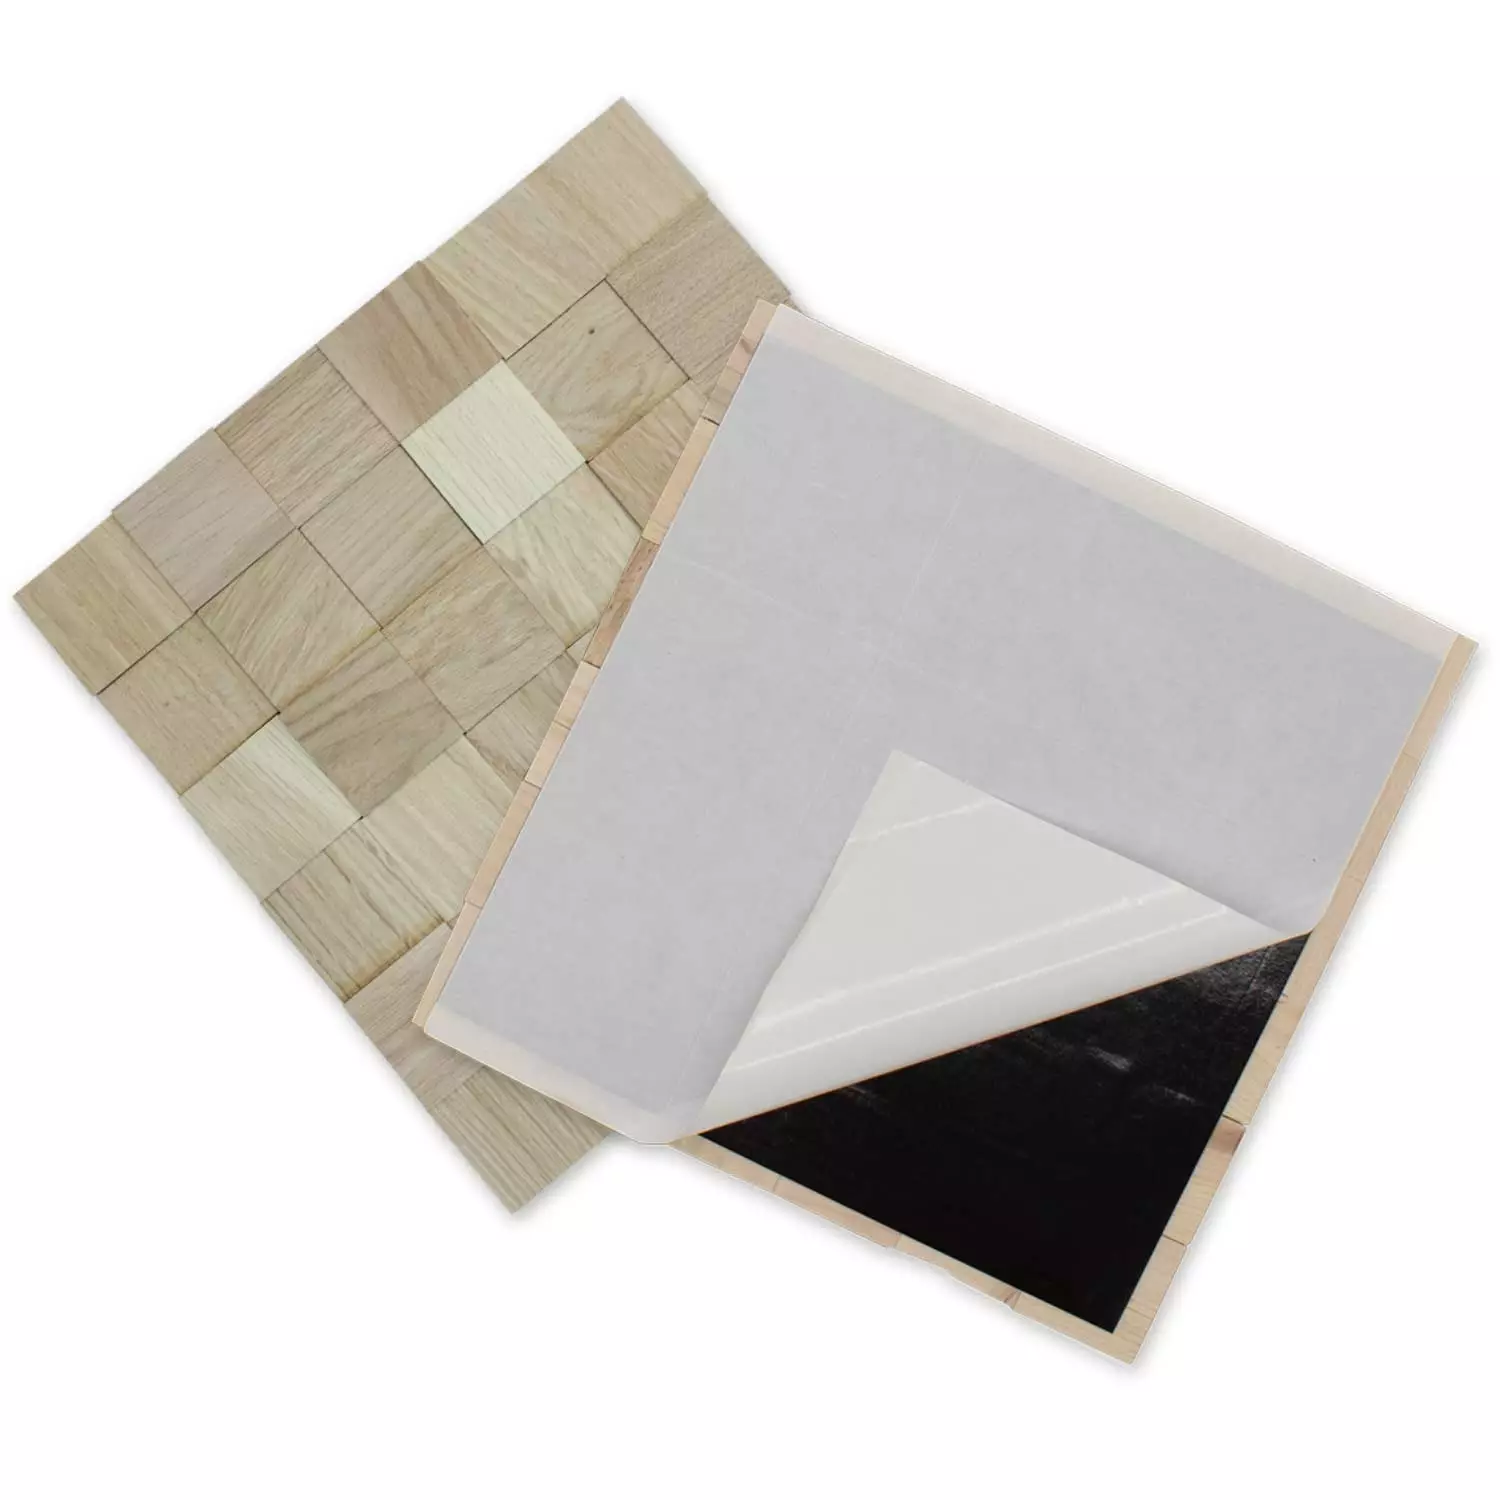
Das Verlegen der wodewa 3D Massivholz Wandverkleidung wird nun noch einfacher und schneller. Bei den bereits vorgefertigten
Matten wird jedes einzelne Holzriemchen, auf eine selbstklebende Matte, sauber und sicher verklebt.
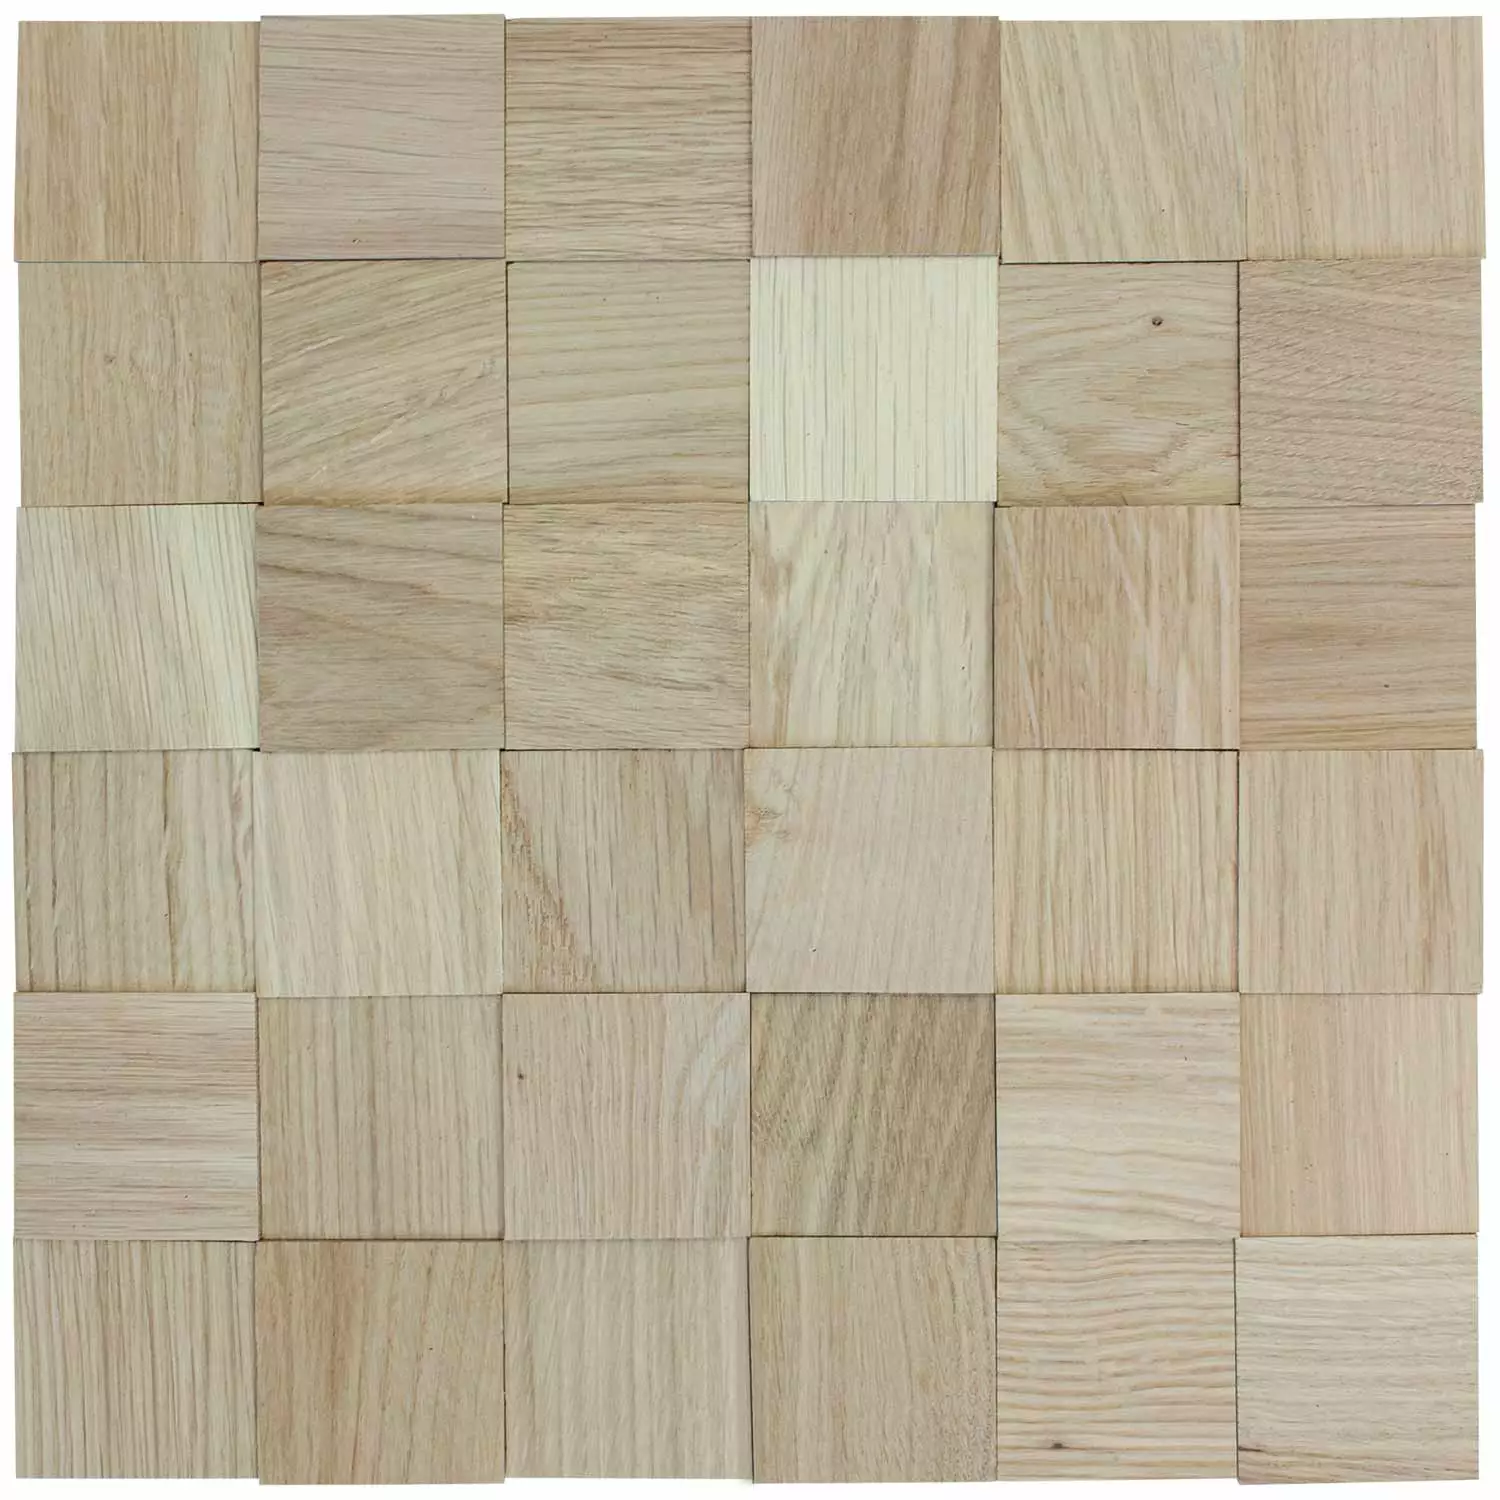
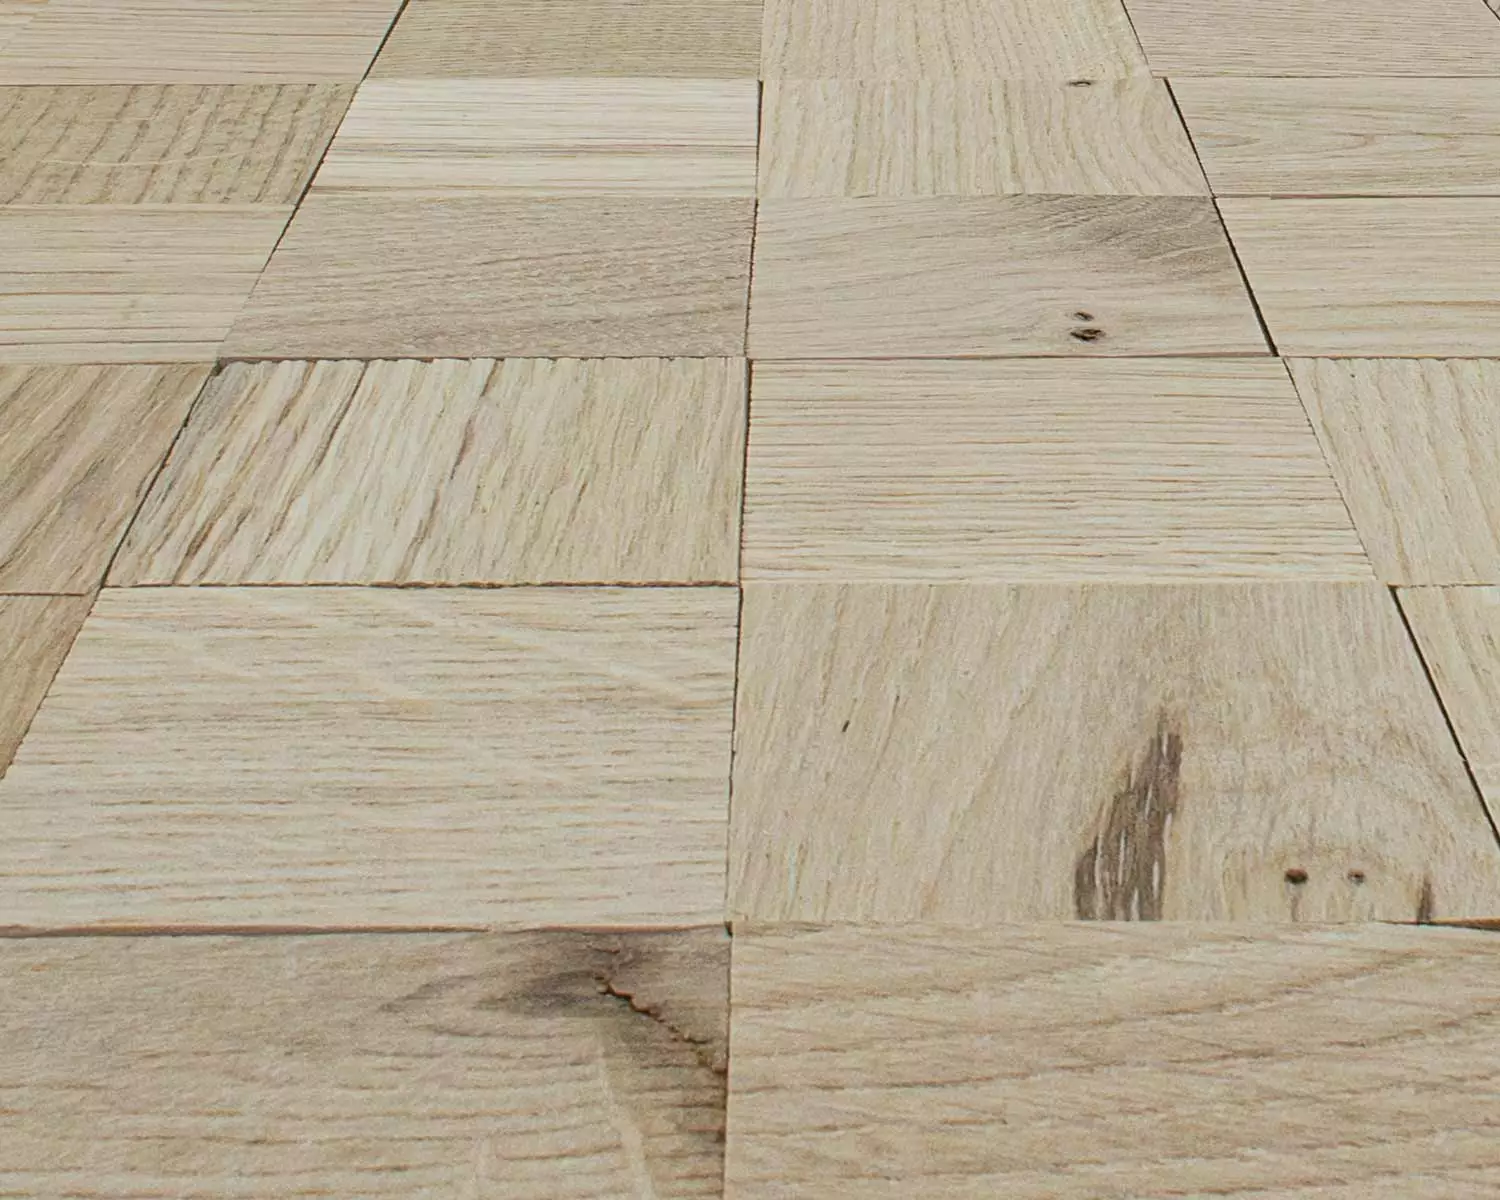
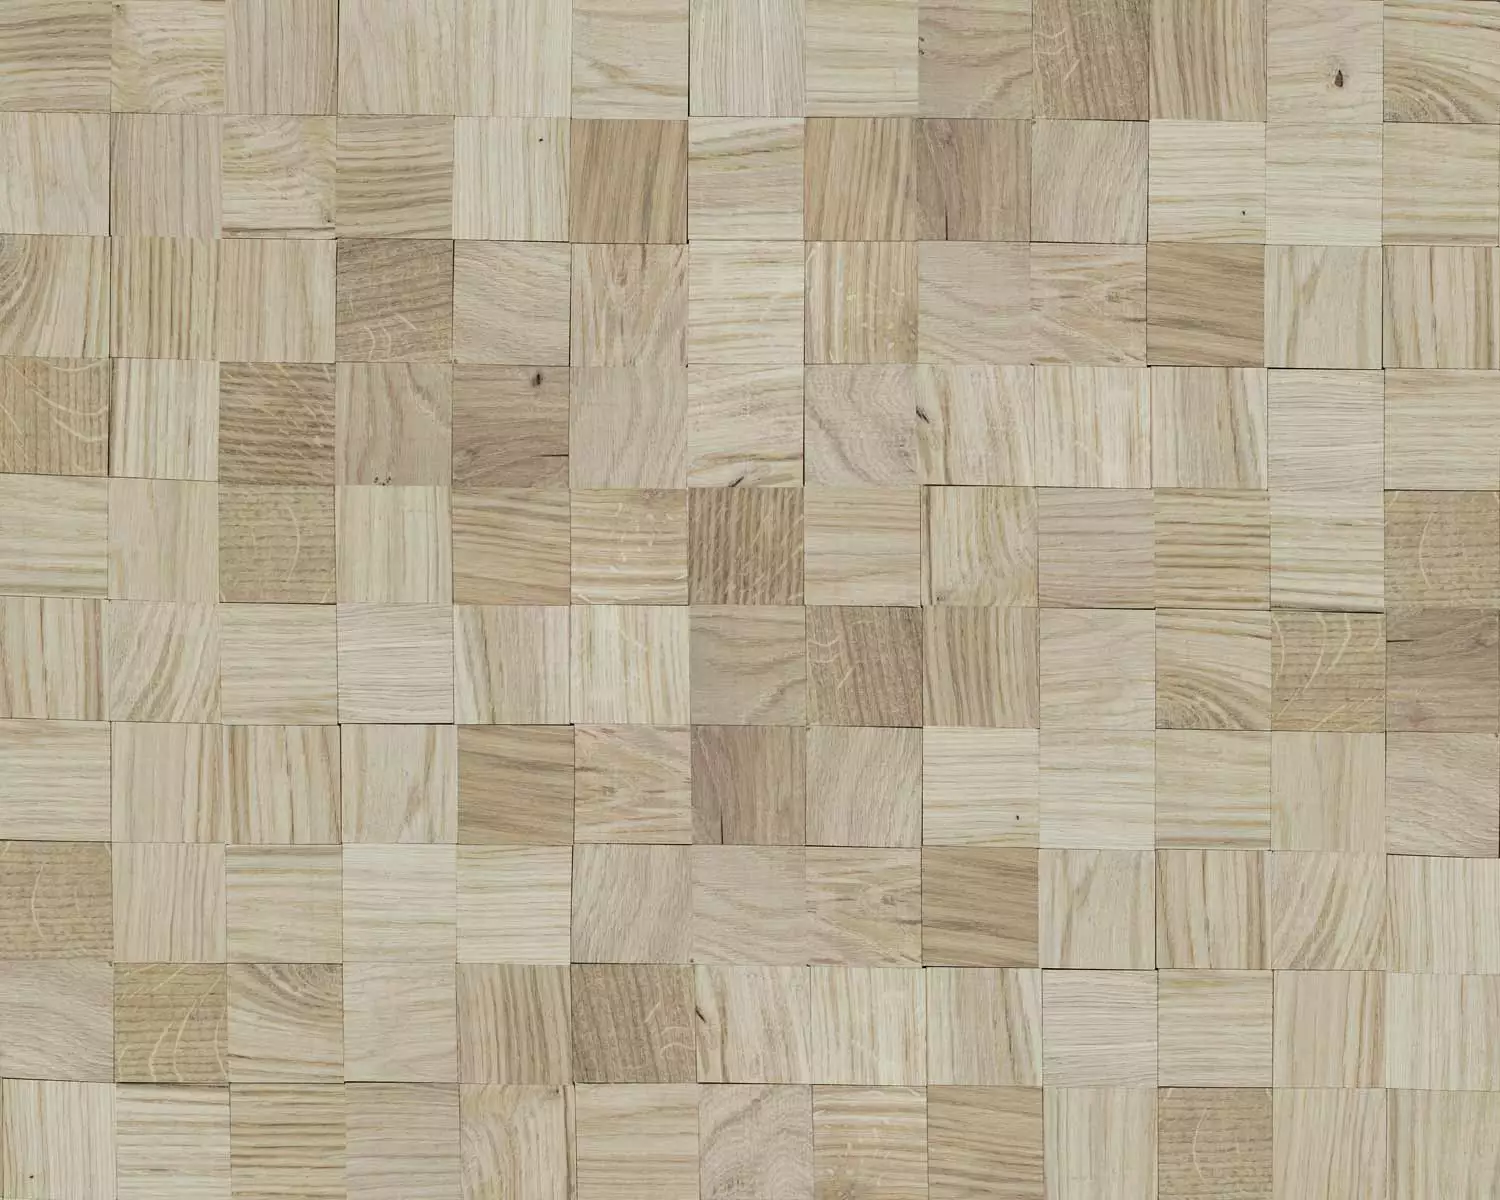
Dabei werden 36 einzelnen Holzriemchen in den Abmessungen 50x50mm zu einer Matte mit einer Fläche von 300x300mm verklebt.
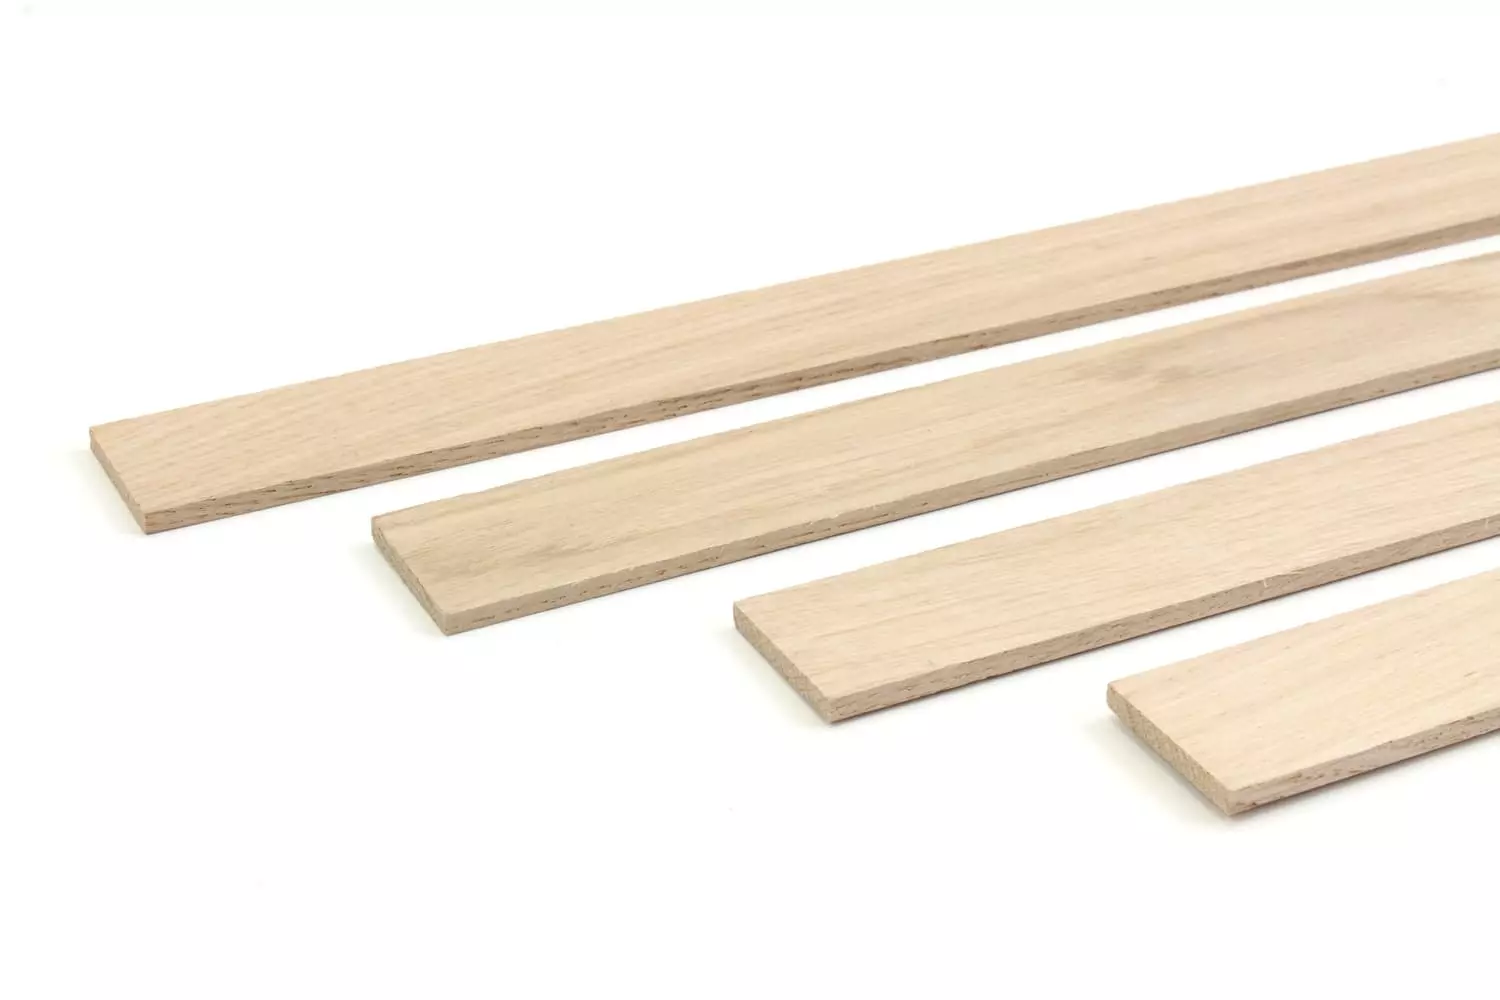
Für den speziellen wodewa - 3D Effekt jeder einzelnen Matte, sorgen die unterschiedlichen Stärken der Holzriemchen mit 2, 4 und 6 mm.
Verwenden Sie wodewa50 selbstklebend und sparen wertvolle Zeit!
Die Holzart
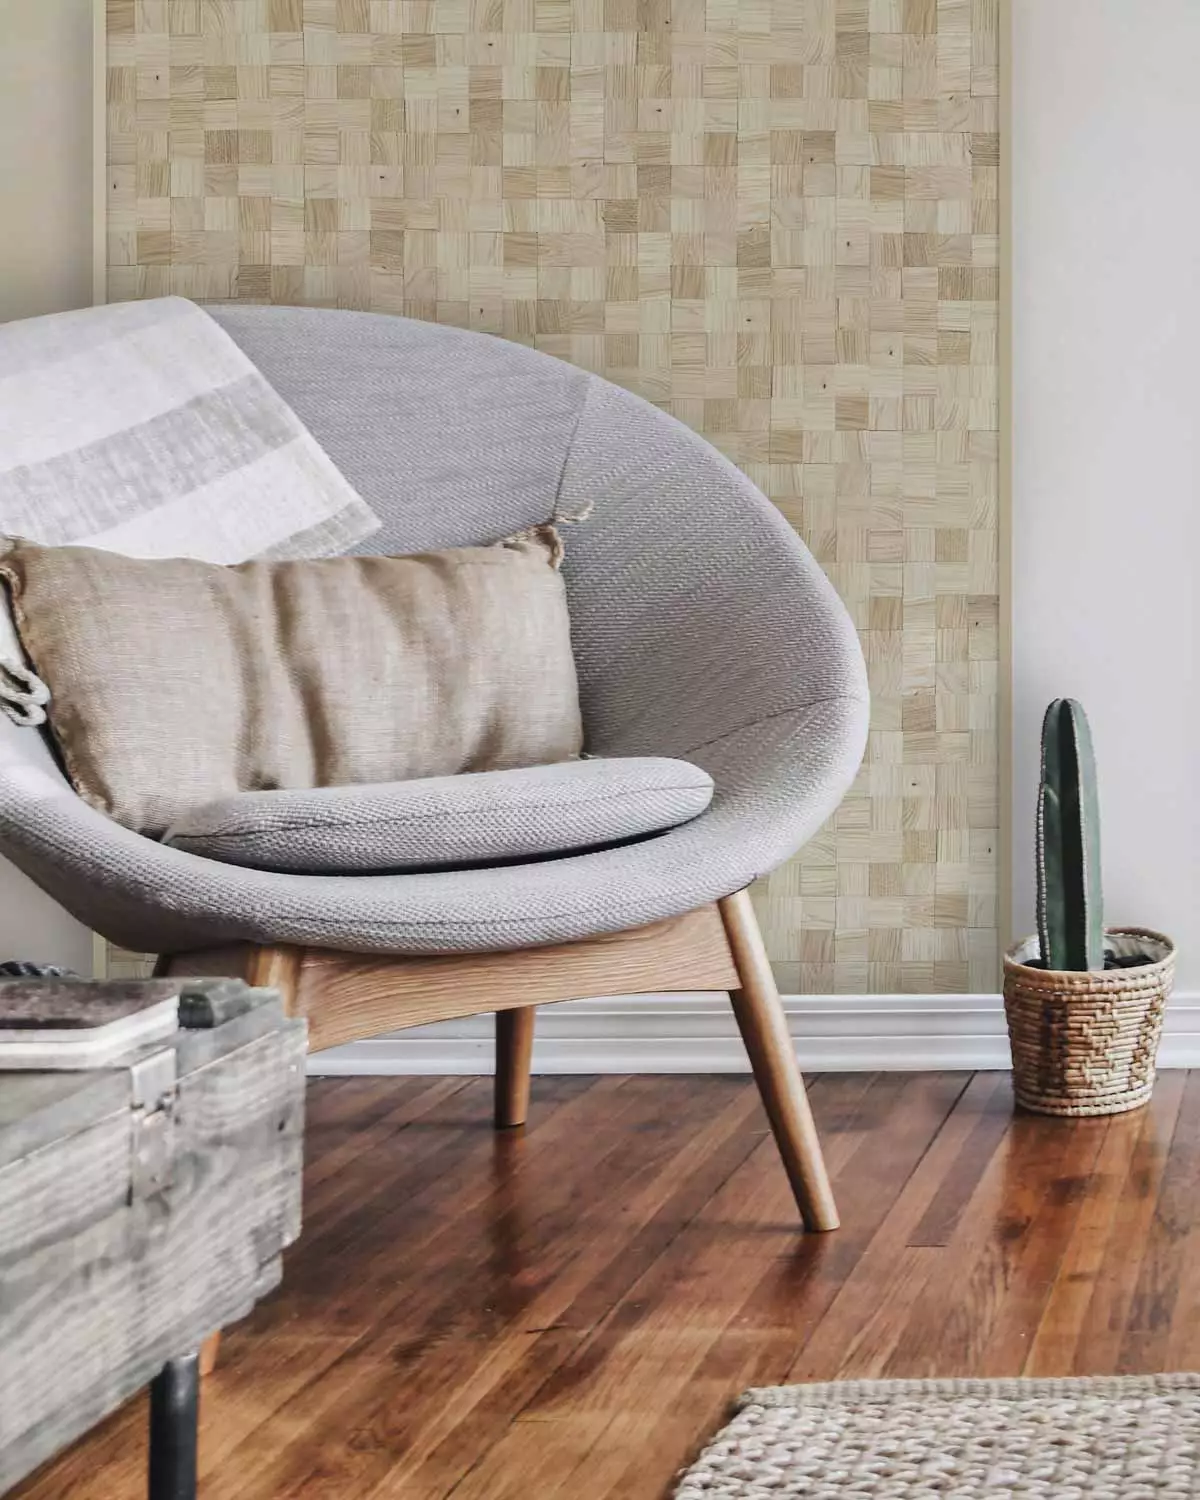
Die Eiche zählt zu den wertvollsten heimischen Nutzhölzern. So war Eichenholz für gediegene Möbel schon immer erste Wahl. Mit seinem ausdruckstarken und lebendigen Design liegt es jetzt auch bei der Innenraumgestaltung voll im Trend.
Allgemeine Produkteigenschaften
- einzigartige 3D-Optik mit massiven Holzmosaiken
- hergestellt aus natürlichen nachhaltigen Rohstoffen aus kontrollierter Forstwirtschaft
- einfache und individuelle Montage mit verschiedenen Verlegemustern
- unbehandelte Oberfläche
- verschiedene Stärken 2mm / 4mm / 6mm
- Geringes Eigengewicht: ca. 2,7 - 3,5 kg/m2
Verpackungsinhalt
Inhalt: 1 Matte (0,09m²) mit 300 x 300mm
(Jede Matte besteht aus einzelnen 50x50mm Mosaiken in den Stärken 2, 4, 6 mm)
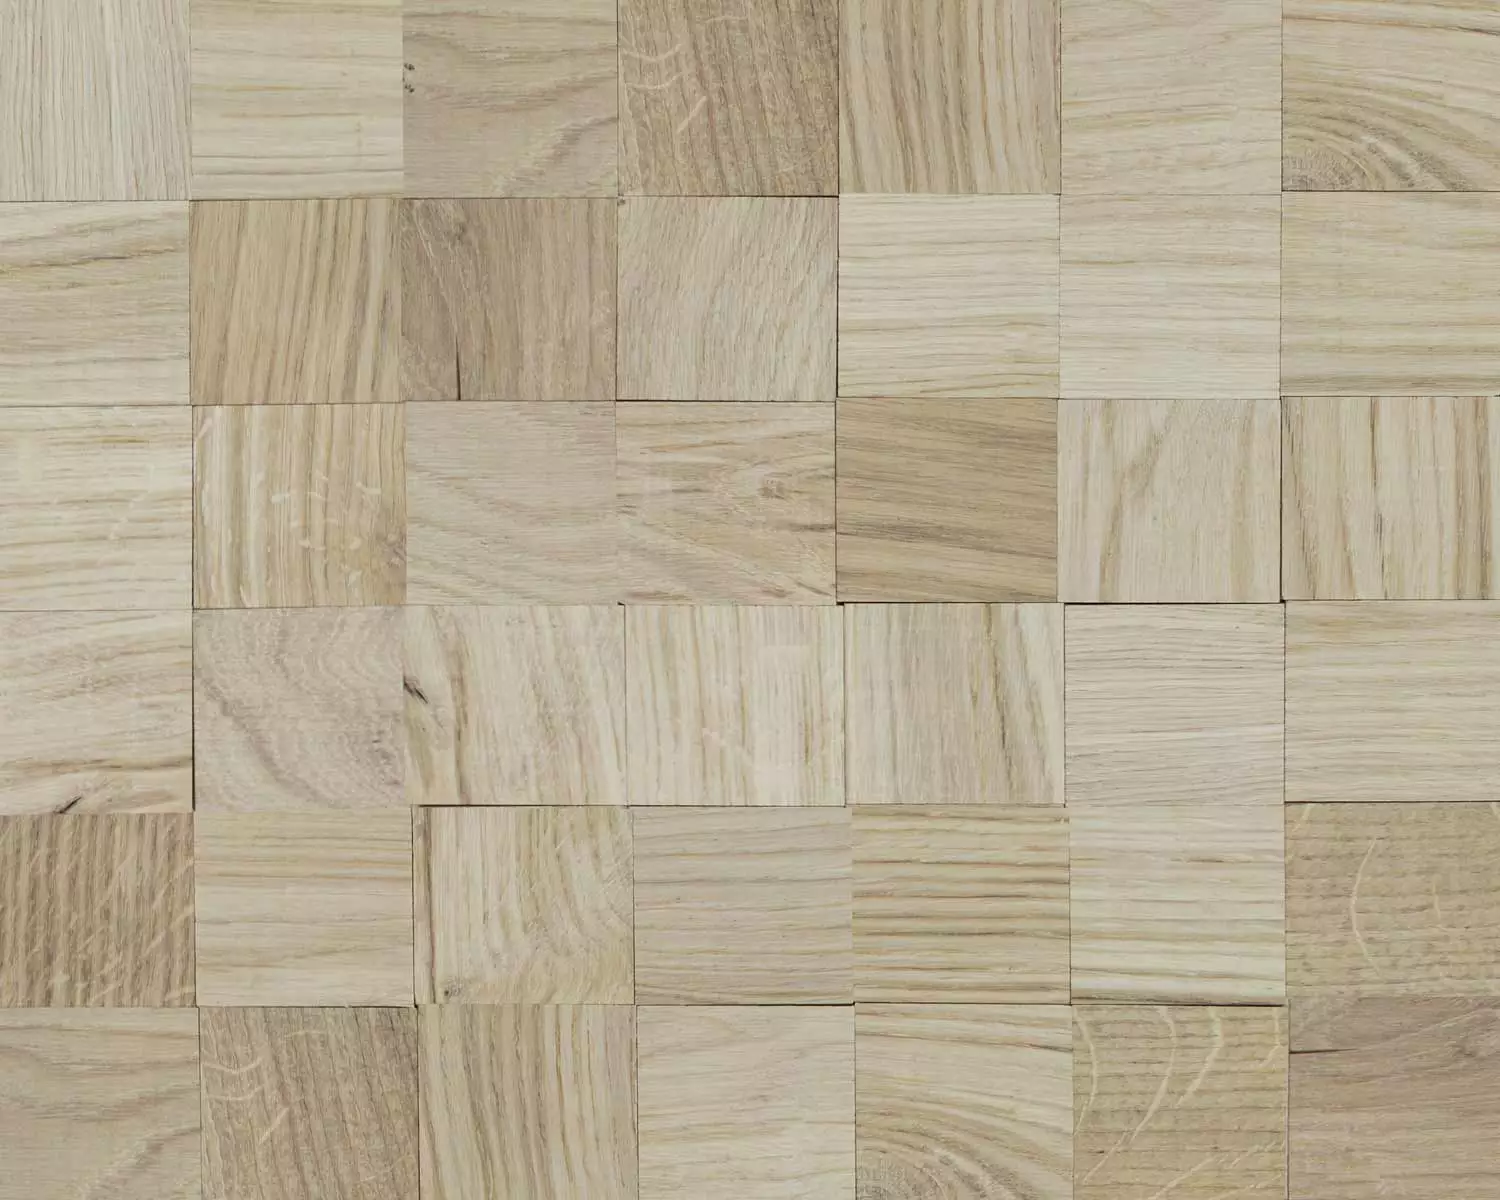
Natürliche Wuchsmerkmale und Farbabweichungen sind ein Beweis dafür, dass es sich um echtes Holz handelt
| Color: | tawny brown |
|---|---|
| Montage: | Self-Adhesive |
| Optics: | 3D |
| Size (single apron): | 300 x 300 mm |
| Species: | Oak |
| Surface: | Nature, unbehandelt |
| Color: | tawny brown |
|---|---|
| Montage: | Self-Adhesive |
| Optics: | 3D |
| Size (single apron): | 300 x 300 mm |
| Species: | Oak |
| Surface: | Nature, unbehandelt |
Log in
The removal of the adhesived strips is not easily possible because of a firm and permanent bonding. A good variant for easy and problem-free removal is the use of a substructure such as e.g. a chipboard or plasterboard. This can be bolted to the wall and then bounded ideal with your new wooden wall paneling. This makes it possible later to separate the substructure from the wall and thus leave no major residue.
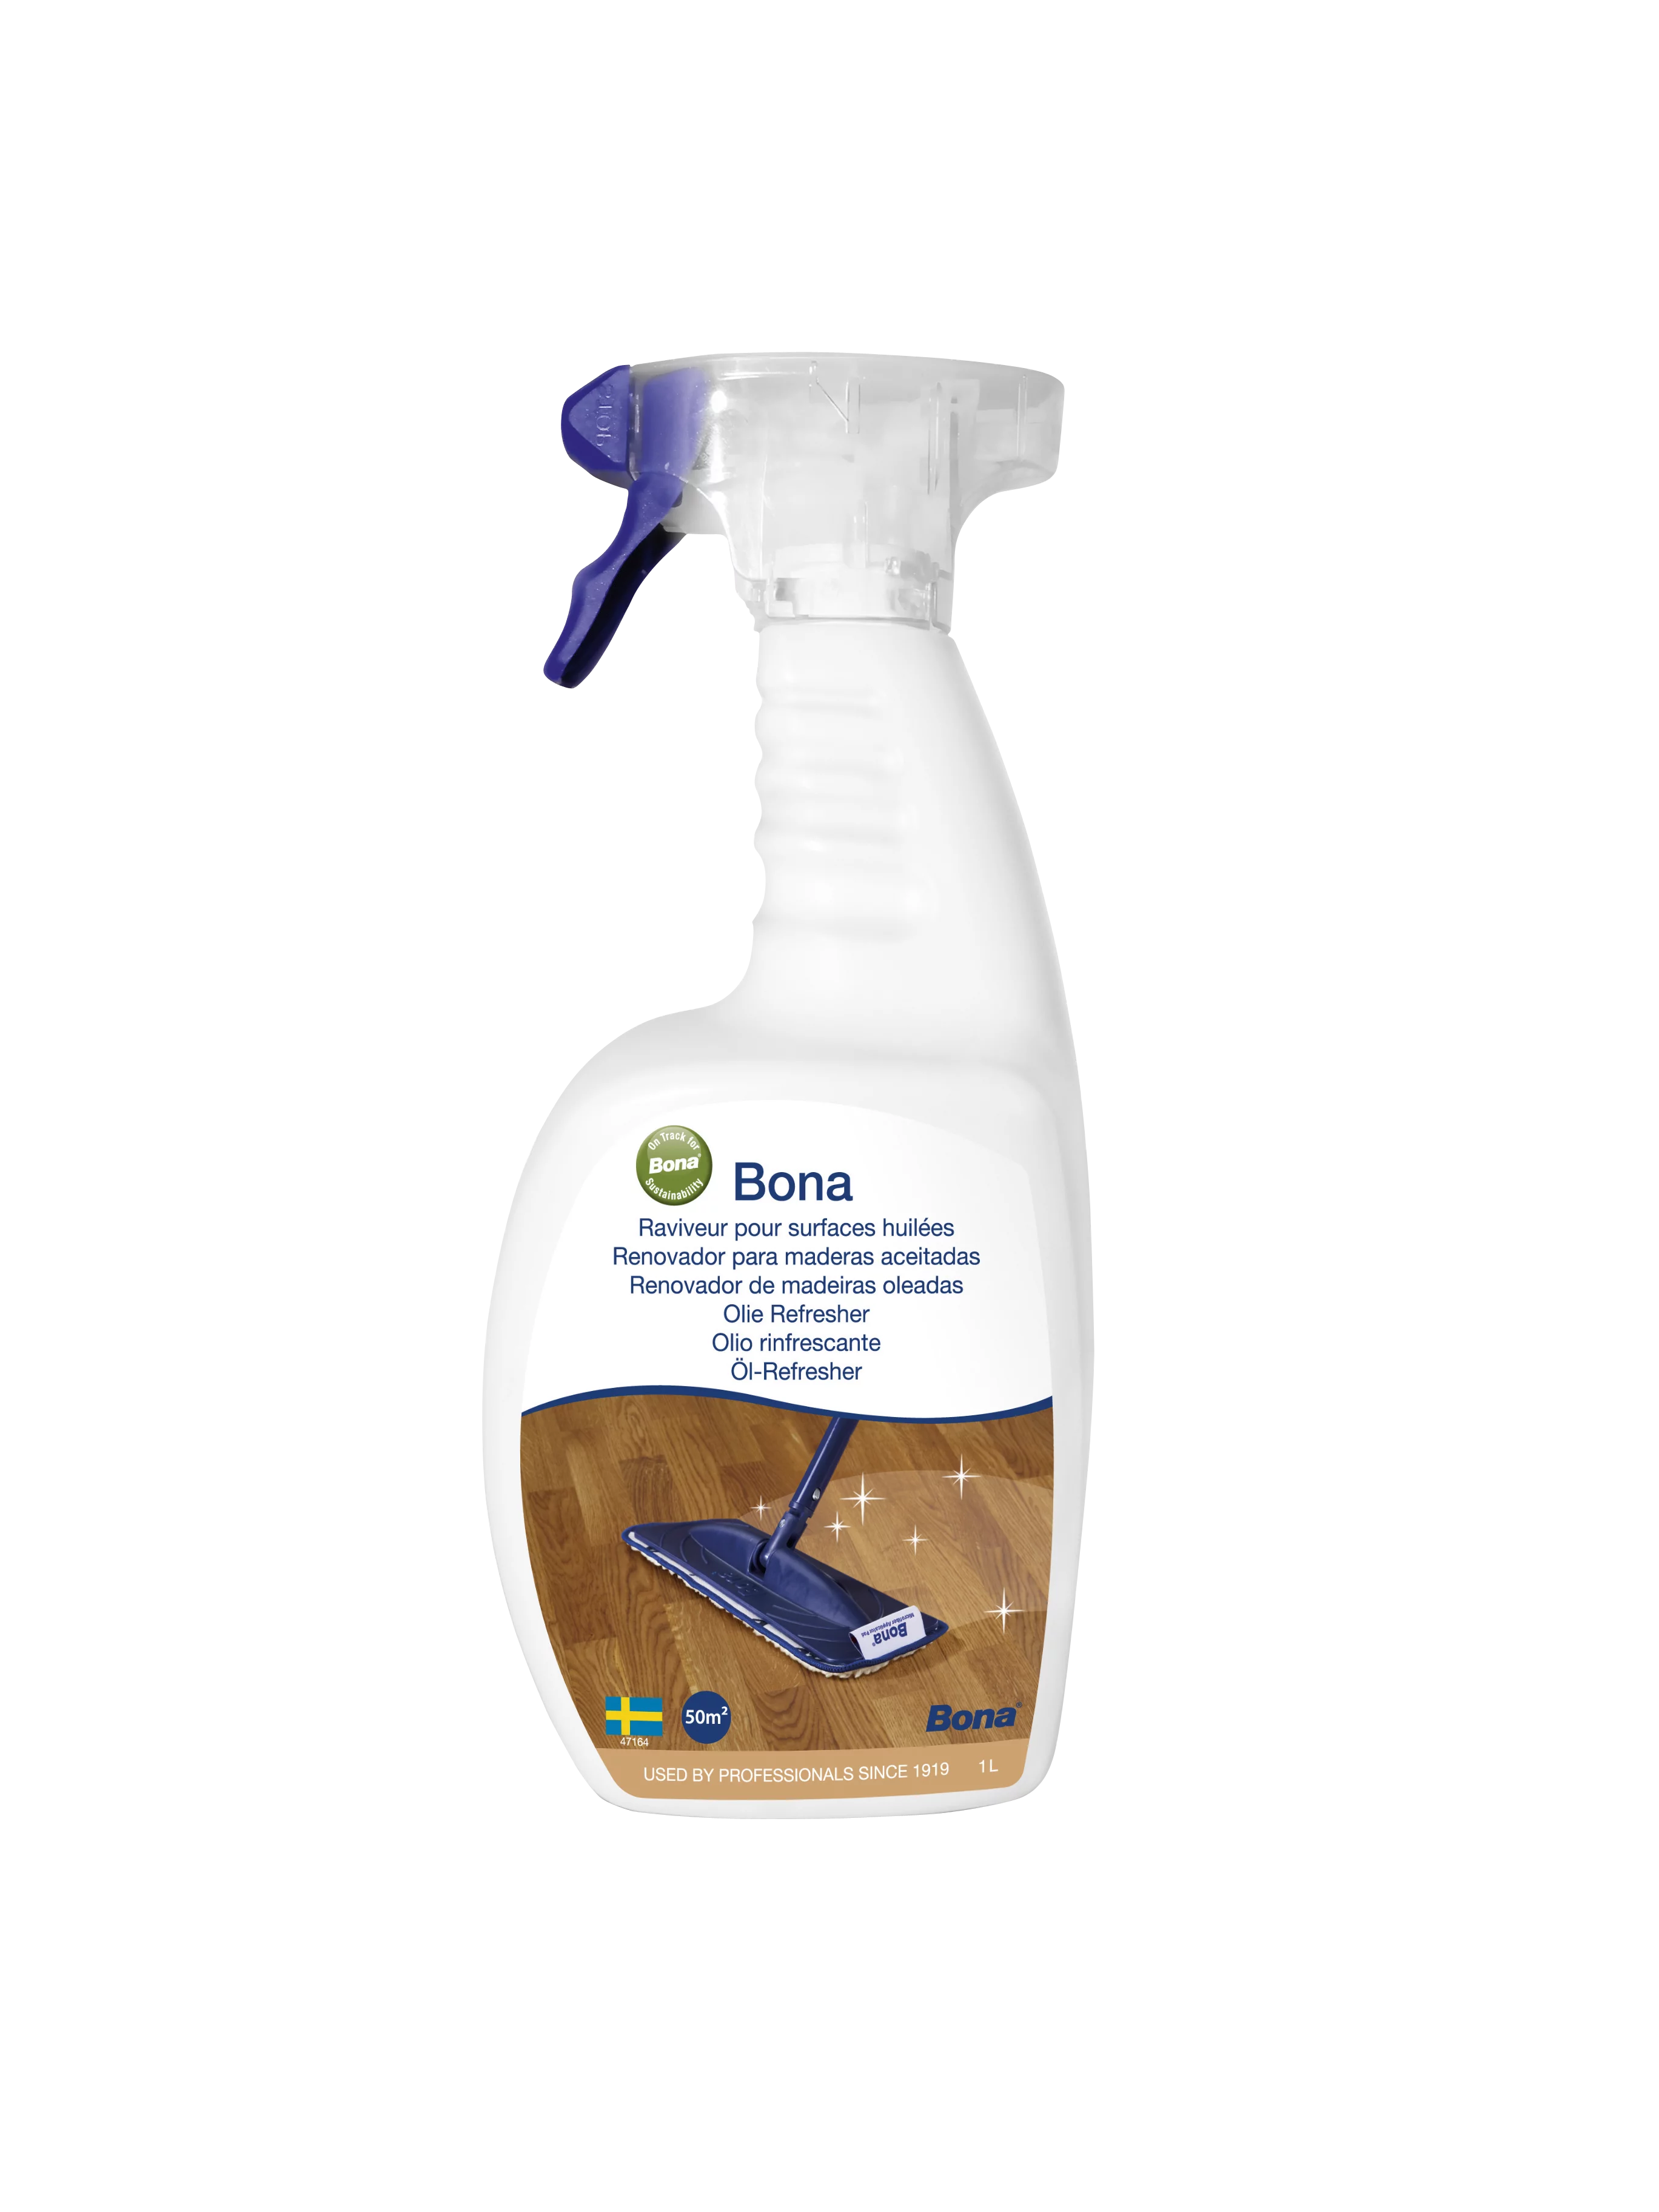
The surface is provided with an oil application (oiled-version), which greatly simplifies cleaning. This can easily be done with a damp cloth, dust or vacuum cleaner. In order to preserve the beauty of the wall in the long term, we recommend that you clean the wall annually with an oil refresher / wax care. This provides new shine and removes unsightly residues. Suitable products can be found in our shop under the category equipment / care.
The adhesive usually has not only a good adhesion on the wall, but also on the utensils. For this reason, it is important that they are cleaned immediately after use, otherwise the adhesive dries and cleaning is extremely difficult. Cleaning can be done under clean water with regular soap and brush or you can soften the individual utensils (only metal) in solvent. Make sure that this is done with gloves and a necessary protection and is kept out of the reach of children. Alternatively, we offer special cleaning wipes, which are harmless and allow easy cleaning of tools and hands.
When installing the wall paneling, there is always some adhesive next to it and on the hands. The adhesive is harmless and does not harm the hands, but it is difficult to get rid of, so we recommend: "Save yourself trouble and wear sturdy gloves". With tight-fitting gloves you have good grip and keep the feeling for the laying of the individual wooden strips. For easy and stress-free cleaning, we also offer cleaning wipes in our Equipment section.
Of course. The advantage of wodewa single laying principle in comparison to whole panels is not only the beautiful look, but also the much lower waste. You lay a series of wooden strips on your wall and cut the last strips to the lenght you need. Now you can use this end in the next row immediately and get thus a natural and irregular 3D-effect, which gives the wall the special flair. You can therefore use any blend for your wall and you do not have to plan for a direct waste, as is often the case with finished panels. This not only protects nature, but also your wallet.
Cutting the wooden strips is relatively easy and can best be done with a circular saw. As a cheap alternative, you will find a fine saw with cutting load, which is ideal for the wodewa strips. This provides support and ensures a straight cut of the strips. Shortening is optionally also possible with a hand saw (fretsaw or similar). It is also possible to cut the 2mm straps even with a sharp craft knife.
There is no need to leave any gaps between the individual wooden straps, it is enough if the straps are simply pressed together. However, due to the natural extent of the wood, depending on temperature and humidity, we recommend leaving a gap at the top and bottom of the wall. This gives the wood the space required for expansion without causing too much tension.
Full surface | right adhesive | notched trowel
One of the most important aspects when applying is the full-surface bonding of the wall with the appropriate adhesive. On this adhesive, the individual strips are then pressed loose to the adhesive on the wall. It should be noted that they use a notched trowel with 3 / 4mm toothing, so that when pressing the wooden strips into the adhesive, a full-surface wetting of the wooden aprons can be guaranteed. Due to the natural extent of the wood, depending on temperature and humidity, we recommend leaving a gap at the top and bottom of the wall. You will find the suitable adhesive and the right tool in our category → Equipment
Note: In the area Do-it-yourself we have collected helpful pictures and videos for you.
1m² = 600ml Adhesive
For 1m² of a wodewa wallcovering you will need about 600ml (1kg) of a corresponding adhesive. In this case, a full-surface and uniform bonding is required. The suitable adhesive can be found on our shop in the category Equipment / Adhesive.
As a suitable adhesive, take a permanently elastic parquet adhesive that is not water-based. This prevents the swelling and bowling of the wood and thus guarantees a long and good durability. Regular universal adhesive or assembly adhesive is often water-based and therefore does not offer the necessary durability. Furthermore, this is in cartridges, which complicates a necessary full-surface order. In our category "Equipment" you will find suitable adhesives that meet all requirements and have been selected specifically for you.
Almost. To ensure a good durability and strength of the adhesive on an acrylic wall, it is necessary that this wall is sanded in advance. This sanding ensures that the adhesive can reach the required adhesive effect on the wall.
Yes, there are possibilities here as well.
Tiles often have a very smooth surface and the glue can not penetrate and adhere properly, therefore, the tiles must be pre-treated accordingly:
1. Basic cleaning of the tiles of all contaminants and surface coatings with e.g. solvent
2. Generous sanding of tiles with e.g. abrasive paper This sanding roughens the surface and gives the adhesive a better adhesion to, for example, glazed tiles.
A wooden wall behind a fireplace or stove looks great, but often raises concerns. Can the wood not start to burn with this heat? It is very clear that wood is not as flammable as many other objects and surfaces near a stove (carpet, wallpaper, etc.). To make a wooden wall behind a fireplace or stove, it takes the observance of some important points to really enjoy the product for a long time:
1. We recommend a distance of at least 25cm from the fireplace or stove to the wooden wall.
The distance that a stove must have at least to the back wall is 20cm. Here it is assumed that the rear wall is made of a material that is not easily flammable. While a wood wall is a combustible material, it is not easily flammable by moderate heat, which is often the case on the back of a stove. Furnaces develop the main heat to the front (through the firebox door, which is why it is often at least 80cm away).
2. Full-surface bonding of the individual wooden aprons
Due to the temperature swings in the vicinity of the furnace, the wood naturally works a lot and must therefore be securely and well glued to the wall. Again, it is enormously important that attention is paid to a full-surface bonding of the strips. The adhesive ensures a firm hold on the wall despite temperature fluctuations. The adhesive we offer retains its adhesive power even at higher temperatures and can therefore be used without hesitation.
3. Let courage to the gap
Often the wall paneling is installed in spring / autumn, where the stove is not or no longer in operation. The individual wooden strips are then glued firmly bump to bump and often exactly flush on the floor or ceiling. Now, when the stove is heated, the wood begins to expand, but it does not have enough space for it. The result is that straps loose, bowls or bend up. We therefore recommend a gap of 1cm to the floor and ceiling and also that the wooden strips are loosely put together, so they still have a little bit space to move.
4. Do not attach the wooden wall directly to the stovepipe.
When attaching the wooden straps near the stovepipe, there are a few things to consider. How far is the stovepipe from the stove before it hits the wall? What temperature is the stovepipe at this point? Stove pipes usually have only a partial heat when they run into the wall, but it should be ensured that the straps are not laid directly to the pipe. A pipe has at least one end ring, which is on the wall and forms a conclusion to the wall. The wall cladding can be laid here up to this ring. (You may look in our gallery area to see some picutre of customers)
5. If in doubt, check with the chimney sweep
If you are still unsure and have concerns about installing your wooden wall, then contact your chimney sweep. He will certainly be happy to assist you and answer your questions. TIP: Just take a look at our gallery. Here you will also find pictures of the customer who have laid a wooden wall behind their fireplace.
The direct gluing of the wooden strips on a wallpaper is possible in principle, but we advise our customers against it. It can always happen that there are air pockets and thus to detach the wooden strips from the wall. Furthermore, it can happen that the wallpaper comes off the wall, because the wallpaper paste does not provide the necessary strength to hold the wooden tiles. In such cases we recommend to remove the wallpaper from the wall or to have a simple substructure with e.g. MDF / plywood to build. These are available inexpensively in any hardware store / DIY markets and quickly and easily attached / screwed to the wall. On these wall substructure the wooden strips can be easily applied without primer. Another option is to glue the wooden strips to the renovation fleece, whereby we can only recommend the Wakol adhesive. The directly stink of wooden strips to acrylic paint is also possible, but only with Wakol adhesive.
No. Sealing or priming of the substrate is not recommended and may seriously affect the adhesion of the adhesive. You can attach the wooden strips directly to the wall without having to treat them in advance.
In order to fasten the wooden straps safely and permanently, the substrate must meet the following requirements:
stable, lasts dry, clean, fat-free, smooth
Suitable substrates would be, for example:
- various wood-based panels (for example MDF)
- plywood
- Concrete
- Plasterboard
- Renovation fleece...
Even on difficult surfaces such as a galvanized steel plate is the application of wodewa wall covering with a suitable adhesive like Wakol MS262 possible. It is important to ensure that the steel plate is cleaned and degreased beforehand.
Primer
The surface should not be primed or painted with emulsion paint as this may affect the durability of the adhesive on the wall. The attachment of the strips on surfaces such as wallpaper or regular tiles is associated with some special features, which you will learn in the rest of the FAQ.
YES. As with your walls, our wall coverings can also be used to cover your ceiling with wood. The requirements for the substrate and the mounting are identical to those of a regular wall cladding. The assembly of the wooden straps on the ceiling and the associated overhead work requires some energy, perseverance and fun in the matter. Please read carefully our instructions for the right bonding and the required substrate, because especially in the ceiling area, this is enormously important to prevent peeling off the straps.
Note: Take a look at our wodewa 50 on net. Prefabricated laying nets make your job easier and achieve your desired result faster.
The attachment of the real wood wall cladding is only suitable for the interior. External influences, such as moisture, cause the wood to swell, resulting in no durability. For an outdoor application, the wood must have an additional protective layer / glaze, which must be applied individually by the customer.
The wall cladding should not be installed in the direct wet area, e.g. Shower be attached, as here no durability can be guaranteed. It is possible to install the wall cladding in the indirect wet area (eg sink / splash water), but it is important to pay close attention to the swelling and shrinkage of the wood due to water contact. Our wooden strips are treated only on the surfaces (oiled version) and the edges would be unprotected. We therefore recommend our customers to treat these edges, if necessary, with another water-repellent protective layer. For all other areas in the bathroom / wet rooms can be used with necessary and regular ventilation, a wood wall paneling without problems.
Note: Especially in damp areas, wood tends to swell, so we recommend leaving a small expansion joint when laying the wooden strips.
Our wood wallcovering is only suitable for indoor use and should only be used there. Exterior woods need to be specially sealed to ensure durability in different weather conditions. We bring a piece of nature into your home and therefore refrain from using such special sealants to keep the product as natural as possible. Whether in the living room, bedroom or other rooms - within your living area you have the choice to choose where to put your wooden wall paneling. Even behind fireplaces or in the bathroom natural accents can be set with wood. Please note our notes on the respective field of application.
You do not need special tools and you do not have to be a professional to become a craftsman yourself. For the installation of your wall covering you only need a few small utensils, which you may already have at home. If not, you will also get them cheaply in our shop in the section "equipment".
Required tool:
- pencil
- Folding scale / folding rule
- Level
- Tooth scraper 3 x 3mm / 4 x 4mm
- Small trowel
- small circular saw / cutting help
The durability of the adhesive in the opened state must be clearly differentiated between a adhesive bucket and glue tube. The adhesive bucket can be stored for a certain period of time after opening, but it should be noted here that the adhesive will then set relatively quickly, since the humidity in the bucket leads to a binding reaction. An exact duration can not be mentioned here, because this depends on the remaining amount. An adhesive tube, on the other hand, can tightly closed with an cable ties after opening, making it virtually "steam-tight" sealed and durable.
 Expert advice +49 39 349 / 94 19 50
 eMail:

